Dynamic Types tutorial : Implement your own Twitter plug-in without any scripting
In a previous article I have explained how the vCO dynamic Types allow to simplify the development of vCO plug-ins and how these are leveraged by VMware vCloud Automation Center XaaS. It is now time to experiment with creating a plugin with leveraging the Dynamic Types plug-in generator package.
Warning: You can do it without Java development experience and without having to write a single line of scripting !
As a first step download the Dynamic Types plug-in generator package from VMware communities.
The plug-in generator Tutorial: Twitter
In order to get familiar with building a plug-in we start using a service with a public API : Twitter.
Prerequisites
- A Twitter account
- A Twitter application
To create a Twitter Application login with your twitter account to apps.twitter.com
Enter an application name, description and URL (I.E your site). Twitter will the API key, secret and access tokens. These will be needed for your application to authenticate on twitter API.
Download the Dynamic Type plug-in generator package from here. Import it.
REST Host and namespace creation
Run the “Create a plug-in (namespace and matching REST host)” workflow
- For URL use :
https://api.twitter.com/1.1/ - Only enter the proxy settings is you must use a proxy.
- For Host authentication type select Oauth 1.0
From apps.twitter.com copy and paste from the API keys tab:
- The API key in the Consumer key input field
- The API secret in the Consumer secret input field
- The Access token
- The Access token secret
- Enter Twitter for the namespace name
Plug-in type creation
The Twitter API (documented at https://dev.twitter.com/docs/api/1.1/ ) allows to list different objects including Tweets. We will use the Mentions timeline as an example.
Run the “Create a new plug-in type”
Enter the fields as below (You can use any icon resource you have uploaded in your vCO server, here I have uploaded a mentions.png).
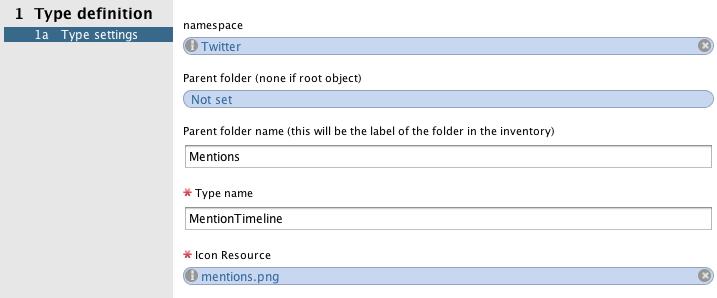
Submit.
FindAll
The next screen requests to enter the URL to get all the mentions. According to the documentation it is statuses/mentions_timeline.json.The second field defines what is the action that will invoke the REST operation. Since there is no need to use specific headers or pass additional credentials as parameters leave the default executeRequest action.

vCO will now attempt to invoke the REST operation and display its response content. If the REST host settings and findAll URL were entered correctly you should see a JSON string. Copy the full content of the response string and paste it in a JSON viewer or editor. Below is how this look. It shows the JSON object is an array[] containing objects {}0, {}1 and so on. Each object has a set of properties. We can notice there are two different ID properties and that the Tweet content is in the text property. There are also some properties that are objects such as user or entities.
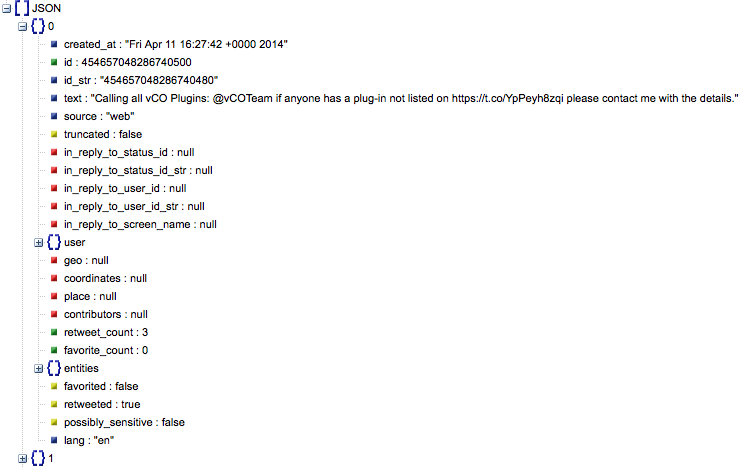
If you have got similar valid response content set “Valid response content” to yes. Otherwise set it to no. In this case you will be asked to set the URL and invoke action again. In the case there is a problem with the REST host settings you can cancel the workflow, right click Run Workflow and start the “Update a REST host” workflow. Once updated you can get back to the “Create a new plug-in type” workflow run, right click / answer to resume it.
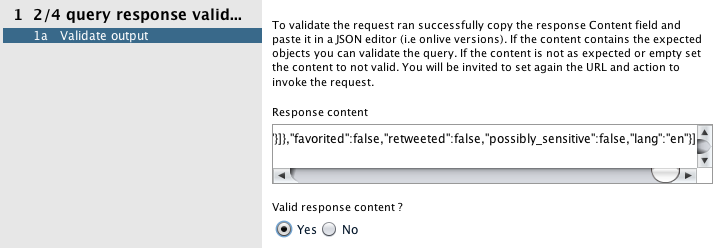
vCO will now attempt to detect object properties. This will only work if the object format is standard (meaning an array of objects with each object having the same properties). This is the case for Twitter.
To create an object vCO needs two mandatory properties : id and name. If there are properties matching these names they will be used. If not the workflow will pick other properties. It is important to check that the ID is unique and that the name is meaningful since it will be shown in the inventory. The property accessors are basically the way the object will populate its properties accessing the returned object properties. It can be customized using a JSON editor.

Copy and paste the content of the findAll object properties accessors in a JSON editor. We will focus out attention on the id and name properties:
id: object["id"] name: object.id
We can see that the object and name will be set using the id property (object["id"] and object.id both refer to the value of the id property, the first one escapes the property name in case there is a special character).
Since we want to have something more meaningful for the Tweet name we will replace the name property value by:
object.user.name + " @" + object.user.screen_name + " " + object.text
And convert it back to a JSON String as follows:
|
|
And paste it back to the findAll object properties accessors field in the workflow.
Keep “Get object properties using custom action” to “no”. This option is used when the JSON format is not standard and requires to be decoded by a custom action.
Submit.
Now vCO will use the properties you have defined to get the property values and display them:

It is now important to check if these values are valid. Below is a sample I copied and pasted to a text editor. I am satisfied with the name property so I will keep it this way. You may notice that properties containing objects kept a JSON format. This is fine as well, these can easily be converted in the vCO scripting. What gets my attention is the fact that there are two id properties. Having the proper ID is very important. Not only it needs to be unique but it will be used by vCO to get the tweet by ID.

With expanding this particular tweet on the Twitter site I can notice that the URL of the tweet is twitter.com/CloudOps_Wayne/status/454657048286740480 which matches the id_str property, not the id one.
Since I am not happy with the properties values I keep “Valid object properties” to “No” and submit.
Back to the findAll object properties accessors I paste the JSON string from the JSON editor with taking care of updating the id property to id_str as follows:

Submit.
Now the object properties are showing the right id, right name. Set “Valid Object properties” to “yes”.
findById
The workflow now expects the findById HTTP URL. It is statuses/show.json. The API documentation mentions the id parameter is mandatory.
Since we cannot hardcode a particular ud in the URL we will use the {id} placeholder.
We will keep using the executeRequest action as we did before and need to select a specific ID to test invoking the URL. The ID list is pulled from the previous findAll call.

Submit. We now get the JSON response. Copying / pasting in an editor shows that the result is as expected.
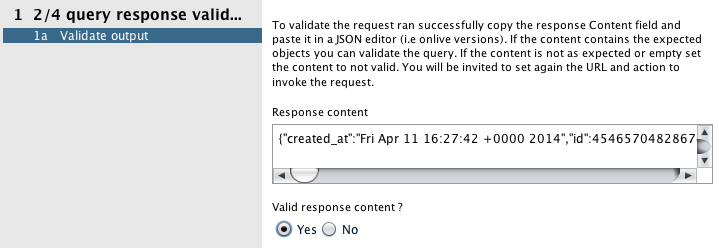
Set “Valid response content” to “yes”.
As before the workflow pulled the object properties. We will want to do the same changes as before for the id and name properties. Update these as you did before.

And as before you can check that the right properties values for the object with this particular ID were pulled. If so set “Valid object properties” to “yes”

Submit.
findRelation
We can now define the findRelation URL. In the most simple use cases this will return in your inventory all the objects of a given type under a folder. The query will then be the same as for findAll.
More complex use cases would be to use particular requests parameters or filtering returned results based on the parent objects and folders. Repeat the same sequence as for findAll

Submit
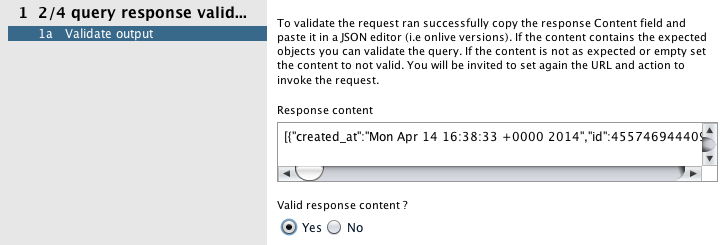
Set “Valid response content” to “yes”.
Submit
Paste the same changes as done before.

Submit.

Set “Valid object properties” to “yes”.
Submit.
For defining the final object properties you have two options : use the properties that are returned by all the previous queries or the ones returned by all of them. In the first case some properties may not be set for some queries, in the last one they should be set consistently. Set yes.

Submit.
Checking the new object type
Check in the Type Hierarchy in the inventory. The workflow created a MentionTimeline object under a Mentions one (the folder)

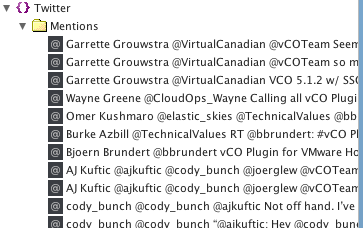
If you now unfold the Twitter namespace, then the Mentions folder you will get the mentions tweets returned by the Twitter API. This proves findRelation work as expected.
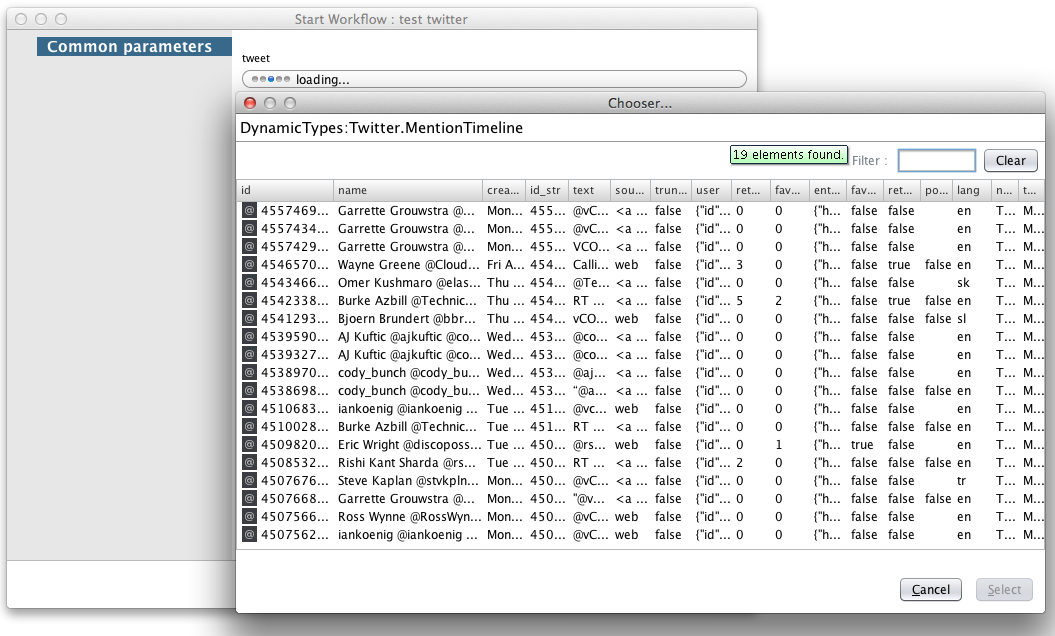
You can then create a worflow with a mentionTimeline type as input and test running the workflow as below.
From a scriptable task you will get access to the object properties using tweet.getProperty(propertyName);
Define a custom operation method
It is nice to have an inventory of object, it is even nicer to have workflows to operate these! To do this run the “Define an object method” workflow. Select a namespace and object type your operation will apply to.

Enter the name of the operation / method. Below I want to be able to retweet

Submit.
On the next screen we need to provide the retweet HTTP method and URL as documented in the twitter APi doc.
We will keep the default action to invoke the operation since it works well for twitter.
To test the operation we need to provide an ID of the object this operation will apply to. Below I have selected an ID based on what I could see in the vCO inventory.
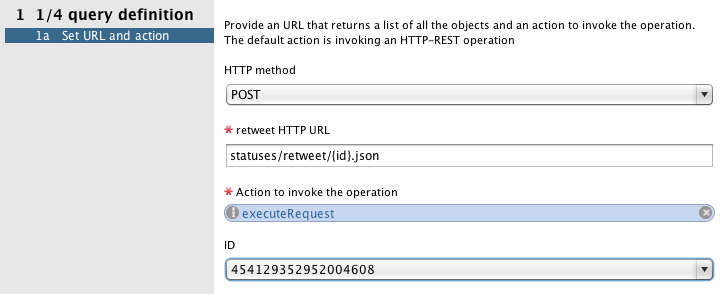
vCO execute the operation and show the response content. If this seems right you can set “Valid response content ?” to “yes”.
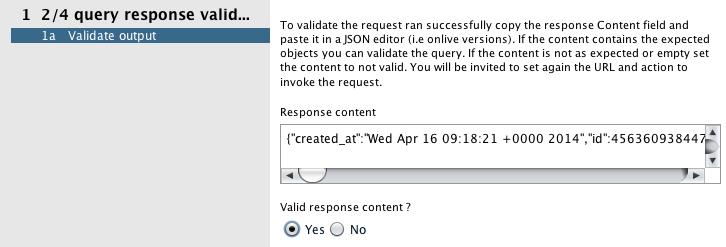
As before the workflow will get the object properties. To make sure the right properties are used you need as before in this tutorial to change the id to id_str and the name to the expression we had entered before.

Submit. The resulting properties are shown. If these are correct. Set “Valid object properties ?” to “yes”

Submit.
Now that we have created the operation we need to create a workflow to call it. Create a new workflow and name it.

Drag and drop on the schema the “Invoke method template” workflow.
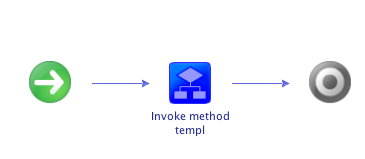
Use the setup button at the top of the schema to bind its inputs and outputs to your main workflow. Set these as following
- dynamicType as input.
- method as a value set to the name of your operation (below retweet)
- we will skip content as it is not needed for twitter. Other APIs requires passing content such as a JSON string)
- updatedObject as an output
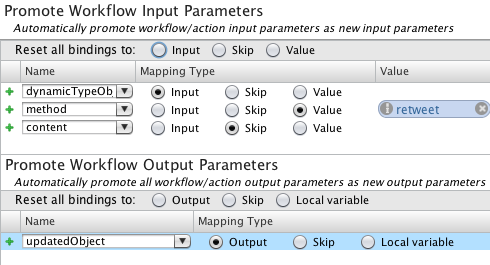
Click “Promote”
There are two small things that have to be adjusted. In the attribute page change the dynamicTypeObject type to the type you need to operate.

And do the same for the output parameter.

For convenience set the dynamicTypeObject presentation properties to mandatory and “show in inventory” (which will make your workflow contextual)
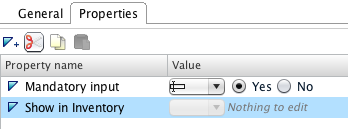
Save and close your workflow.
You can now unfold your inventory, select an item, right click and run your workflow (edit the user preferences / inventory to have it shown as below).

And VOILA !

