Creating workflow loops
VMware's vCenter Orchestrator (vCO) ships with a rich library of workflows and actions. The workflows are often designed to handle a single object instance such as a VM. Technical workflows frequently require selecting several VMs by VM folder, resource pool, or by one of their properties (power state, Operating System, Hardware version ...).
Some of our readers have asked how to deal with selecting VMs for a mass operation workflow. This article should cover the basis required to do so. The following example explains how to create a workflow that snapshots several VMs using a workflow loop and how to feed VMs to this workflow in different ways.
The concepts specifically covered in this article:
- Convert array of objects to single objects
- Workflow loops
- Configuration elements
Creating the workflow loop
First we are going to create a "Snapshot VMs" workflow. You can create a new category with right click / new category on a parent category or use an existing one. Right click / New Workflow
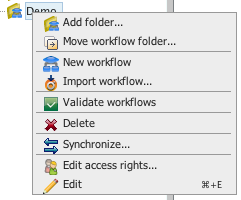
Name your workflow.

Edit (You can use Ctrl E instead of the menu)
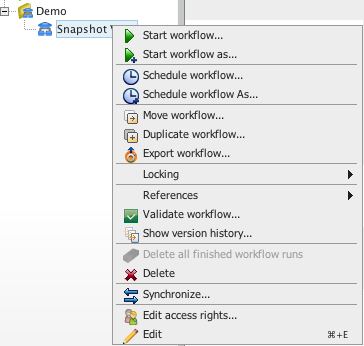
As a good practice always set a version.

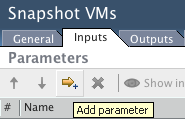
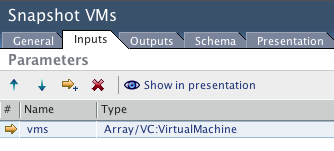
Click on the yellow Add parameter arrow.
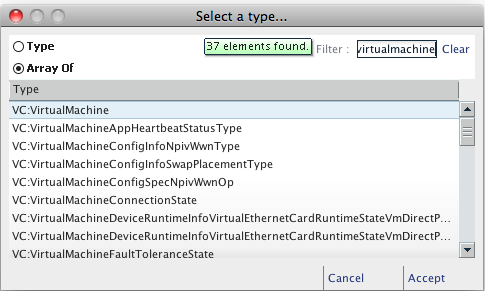
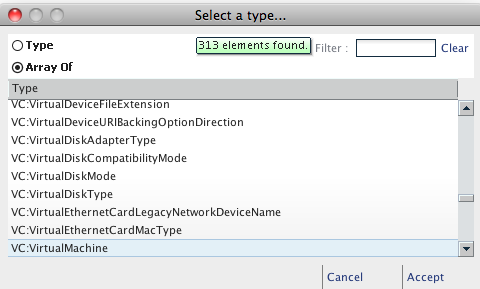
Use the filter to search for an object of type VC:VirtualMachine. Important - Click on the "Array Of" radio button.
Name your input "vms".
Now select the Workflow element in the Action & Workflow Palette and drag and drop it on the schema.

In the search filter type "Create a snapshot" and select the workflow above.

Now we need to add a scriptable task from the Generic palette to setup the workflow loop.

You can rename the box "Loop setup"
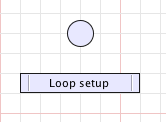
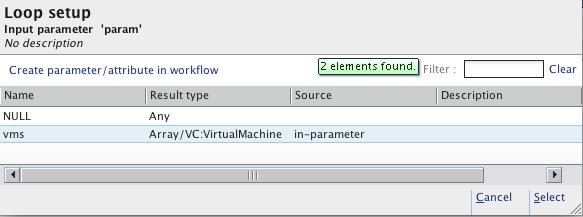
Click on this box, click on the IN tab, click on the bind to workflow parameter and select the vms in-parameter we created before.
Click on the OUT tab, click on the bind to workflow parameter, this time use the Create parameter / attribute in workflow link.
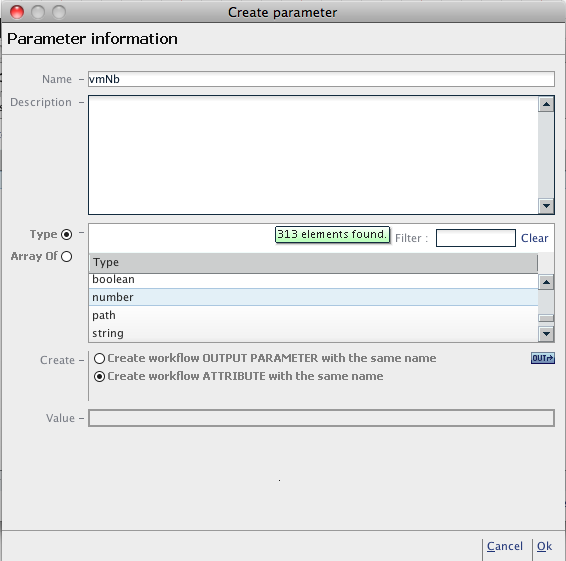
We are now going to create the VM counter for our loop. Call it vmNb and set a type of number.
In the Scripting tab assign the vms length to vmNb.

Now drag and drop the "Decrease counter" from the basic palette.
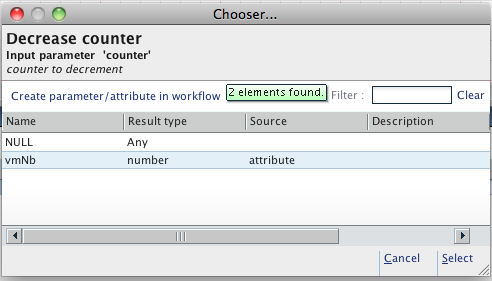
Bind the workflow parameter vmNb attribute both in the IN and OUT of the decrease counter box.
Drag and drop a new Scriptable task on the schema, rename it "Set current VM". This will be our iterator.

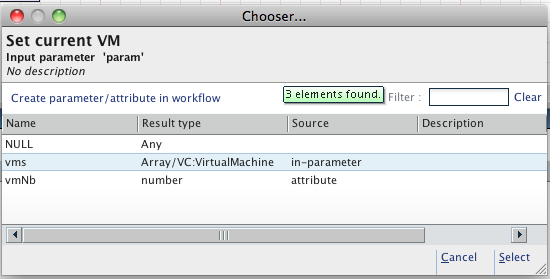
Bind the workflow parameters vmNb and vms attributes in the IN "Set current VM" box.
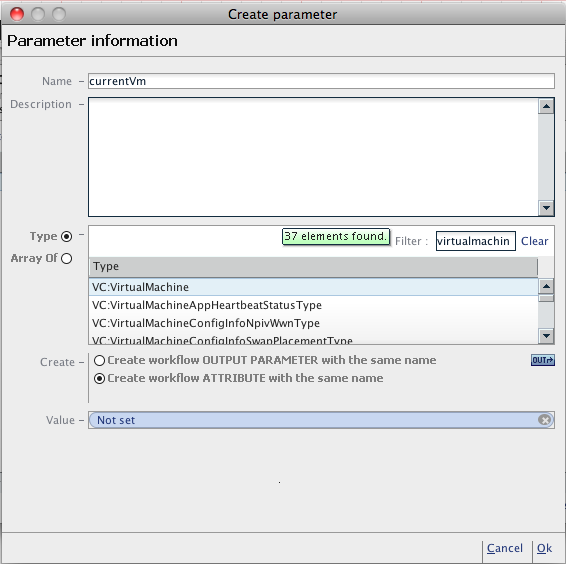
Select the OUT tab and create a new "currentVm" attribute of type VC:VirtualMachine
Fill in the Scripting box as below. We are basically setting the current VM with one of the VMs in the array of VMs.

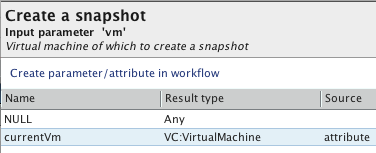
Get back to the Create a snapshot. In the IN tab assign set currentVm as the vm source parameters.
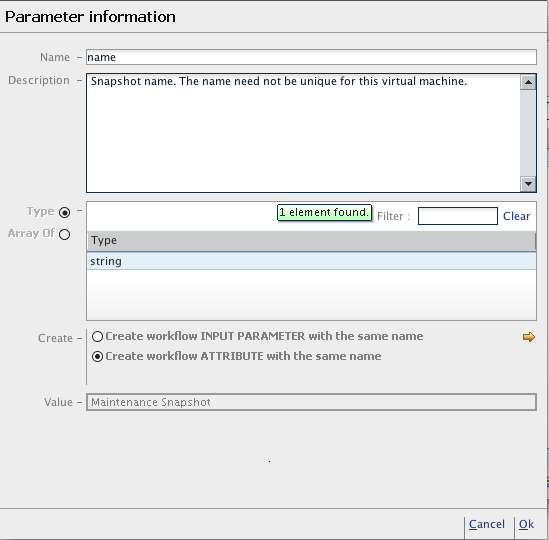
Create parameters attributes and set default values for the inputs name, description, memory, quiesce.

For example set "Maintenance Snapshot" as a value for name. Repeat the operation for the description.
Now we need a decision to control our loop exit condition. From the Generic palette, drag and drop a decision box on the schema.

Rename it "VMs left".

Click on the Decision tab in the bottom pane with "VMs left" selected and set vmNb greater 0.

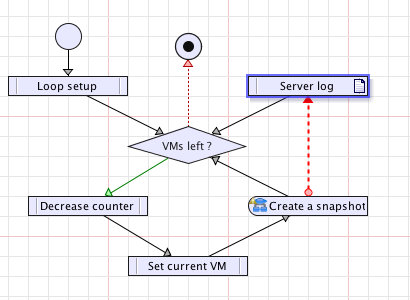
Link the different elements (enable the connector tool or use Ctrl Click) to establish the thework flow as shown below.
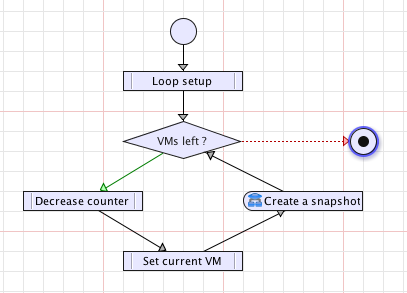
To summarize:
- The "Loop setup" sets the number of VM in the vmNb attribute.
- The "VMs left ?" decision box check this attribute is greater than 0.
- If so the vmNb attribute is decremented.
- The "Set current VM" box assigns the currentVm attribute with using vmNb as an index. Since array indexes are starting at 0 (and not 1) to array length -1 we start our loop with decreasing the index.
- We create a snapshot of the current VM
- We loop back until we have no VM left.
Note that as designed above the VMs will be assigned in reverse order of the array elements. Alternatively if we would have wanted to keep the array original order we could have iterated from a "counter" number attribute initialized to 0, set the current VM as the first item in the loop, create a snapshot, increase counter "counter" and change the decision box to stop on counter smaller than vmNb.
If you validate this workflow you should get a warning since we did not bind the "Create a Snapshot" snapshot output parameter on any attribute. Warnings do not prevent the workflow from running.
Why creating such a workflow loop when you can script the same functionality on a single line ?
Simply because with doing so you are taking advantage of the workflow engine check-pointing mechanism. Between each of these boxes the workflow engine write the changed attributes to the vCO database. If for example, on a "patch Tuesday" the vCO service would be stopped during workflow execution, it would resume where it stopped thanks to the check pointing mechanism. If out of luck the Windows OS would blue screen when restarting thanks to the stateless nature of vCO it would be possible in a few minutes to install a brand new vCO on another host, point it to the existing vCO database and resume operations.
You can now test the workflow with setting a few VMs in the input array.
Handling Exceptions
As currently designed we are protected from vCO service interruption but not from failure of the "Create a snapshot" workflow itself. Many workflows are designed to fail on operation failure so a parent workflow can implement a remediation flow with either skipping, retrying an operation or rolling it back to a previous state.
To benefit from further facilities offered from the workflow engine we are going skip failed snapshot operations and log them into the vCO database. To do so click on the Log palette and drag and drop the "Server log" to the schema.
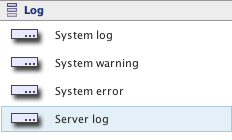
Link the boxes as shown below. Note the exception link from create snapshot to the Server log.
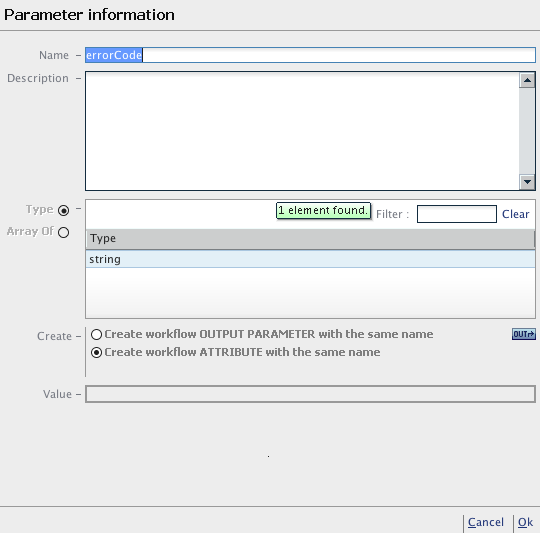
Click on the "Create a snapshot" box / Exception tab.

Create a parameter with the default name "errorCode". Do not set any value. This attribute will be used to store the exception string returned when "Create a snapshot" will fail.

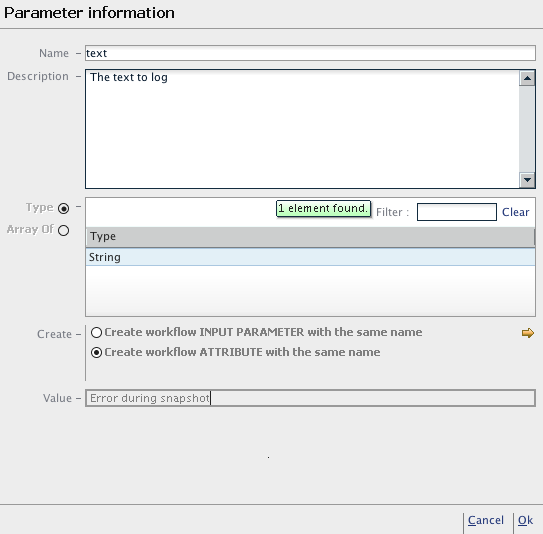
Click on the "Server Log" box. Bind the text input to a newly created attribute.

For example set it with "Error during snapshot". This will be the short description stored on the server and displayed in the event tab of a workflow run.
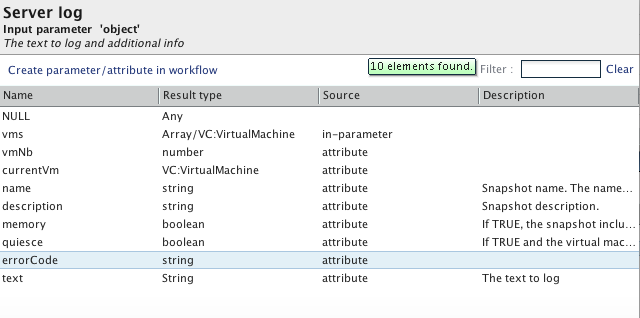
Bind the object input to the errorCode attribute. This will be the long description stored on the server and displayed when clicking on item in the event tab of a workflow run.
You have implemented the a workflow exception handler. Do not forget to update the version of the workflow to reflect the changes.
Wrapping the Snapshot VMs workflow
Now that we have a technical workflow to snapshot an array of VMs we may want to create a few wrapper workflows to ease the use of this one. Create a new workflow and name it as below:

Enter an initial version.

Add a VC:VmFolder named vmFolder as an input parameter

From the "Action & Workflow" palette drag action to the schema. Set the filter to getAllVirtualMachinesByFolder [Corrected 20110124] and select it.
Select the action. The auto-binding must have done its work for the input parameter vmFolder.

From the "Action & Workflow" palette drag workflow to the schema. Use the filter to find and choose your "Snapshot VMs" workflow.

Bind an attribute to the vms input parameter.

Name it "vms".
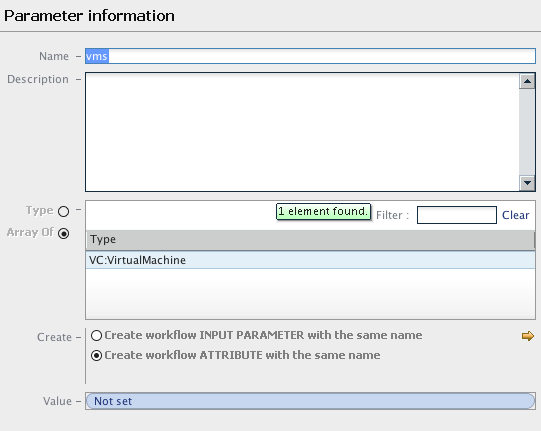
Now you can get back to the action and bind the action result OUT parameter to the vms attribute.


Link the boxes as below.
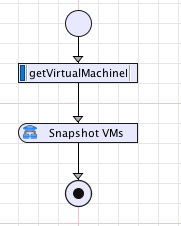
Validate, save and close the workflow.
The action will get the VMs stored in the VM folder you will provide as input. Then "Snapshots VMs" will snapshot each of these VMs.
Another wrapper example using configuration elements.
Create a new workflow and name it "Snapshot VMs from configuration".

Create a workflow attribute of type Array of VC:VirtualMachine and call it vms. Do not edit it yet.
We are now going to create our configuration element. Click on the Configurations tab. Right Click on the resource category root and create a new Folder.

Right Click on the Demo Folder and select "New element ...". Call it Snapshot settings.

Right Click / Edit or Ctrl E. Click on the Attributes tab / Add attribute icon. Change the type to Array of VC:VirtualMachine and rename the attribute vmsToSnapshot.

Click in the value tab / Insert value.

Select a VM from the treeview chooser. Repeat the operation as many times as required.
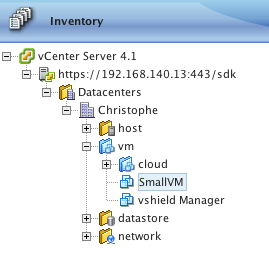
Set a version number. Save and close. You have created a Configuration Element. Now let's use it in our workflow. Edit your "Snapshot VMs from configuration" workflow.
Click on the vms attribute Double Arrow underneath the check mark to bind your attribute to the Configuration Element.

Select the "Snapshot settings" configuration.

Select the vmsToSnapshot Attribute

Your attribute is now linked to the configuration element you have created.

Drag and drop the "Snapshot VMs" workflow in your schema. Check its IN parameter "vms" is bound to the vms attribute.
Set a version number. Save and close.
Configuration elements allows you to store specific configurations as vCO attributes. Contrary to workflow attributes these configurations attributes are set / stored per vCO server and can be linked from existing workflow attributes. This allows to have for the same attribute a different configuration on different vCO server. For example the snapshot VMs worklow could be copied from one vCO test server server to a vCO production server with pointing to a different VMs list to snapshot. This avoids hardcoding / editing the VM list in an attribute or providing the VM list on every workflow run.

